Welcome!
Lesson 1 - Materials
Lesson 2 - How to "Paint Without Paint" Part 1
Lesson 3 - How to "Paint Without Paint" Part 2
Lesson 4 - How to "Paint Without Paint" Part 3
An Invitation for you
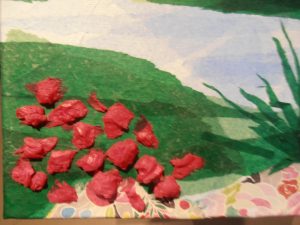
In this fast video, towards the end of the work, I decided to add some 3D flowers to the painting. This is done by crumpling the paper into small balls. You can dip these into the glue and then set on the canvas, or saturate with the brush once you have them where you want them.
Below you can see the piece on an easel in my office. I may revisit it another day and add more to it, but for now, it’s a happy little scene!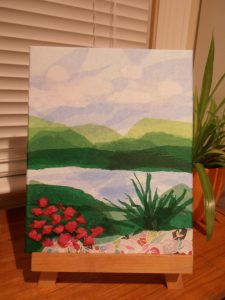
The 3D method of attaching the paper is used successfully in these student pieces. The paper can be crumpled before you attach, or crumpled after it’s been saturated by the glue.
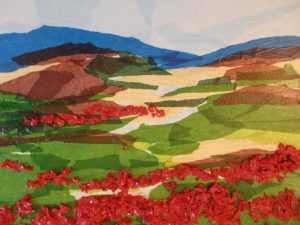
Poppy fields are popping off the canvas!
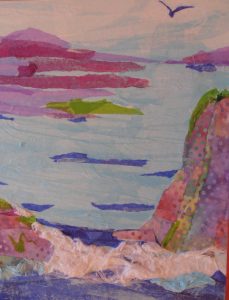
The water “foam” and the bird are 3D.
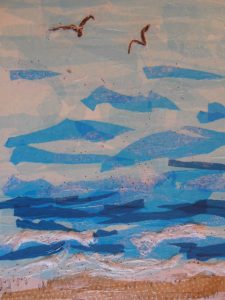
Waves and seagulls are 3D
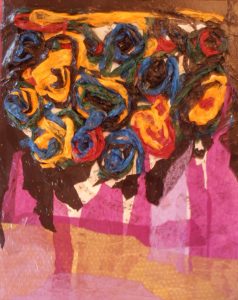
Check out these swirly flowers! So creative.
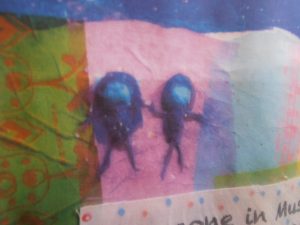
These 3D figures are on colorful “beach towels”
More Ideas for This Medium:
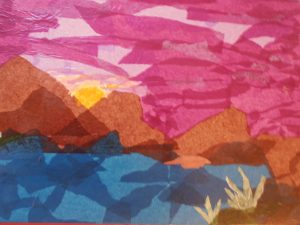
One really cool property of the tissue paper is the combination of colors when you overlap them. I love the effects you can achieve with this method – especially the combination of soft peaches and yellows in these sunset scenes (student photos).
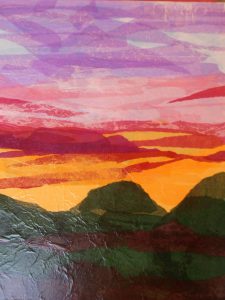
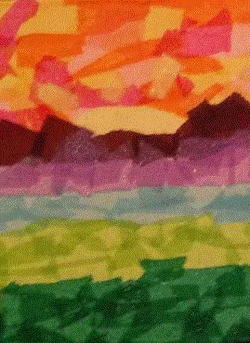
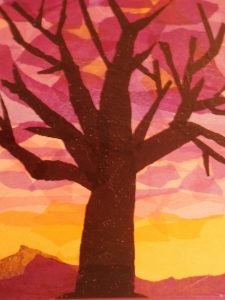
Here are some examples of landscapes done by students…
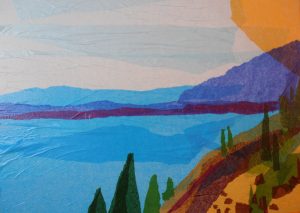
Lovely Lake scene
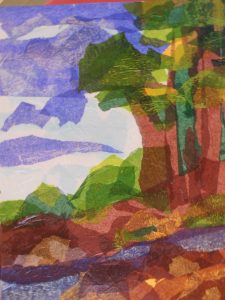
Many Layers!
A couple of Beaches:
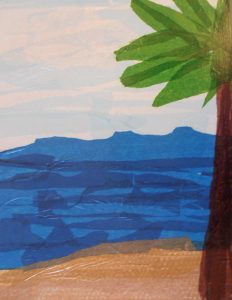
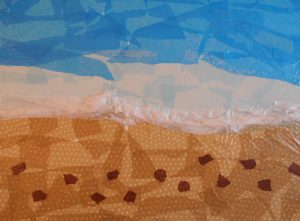
and some Mountains…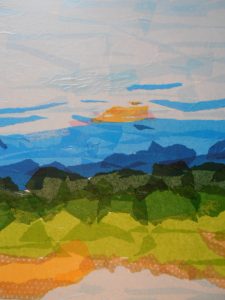

Combining With Other Mediums Can be Fun…
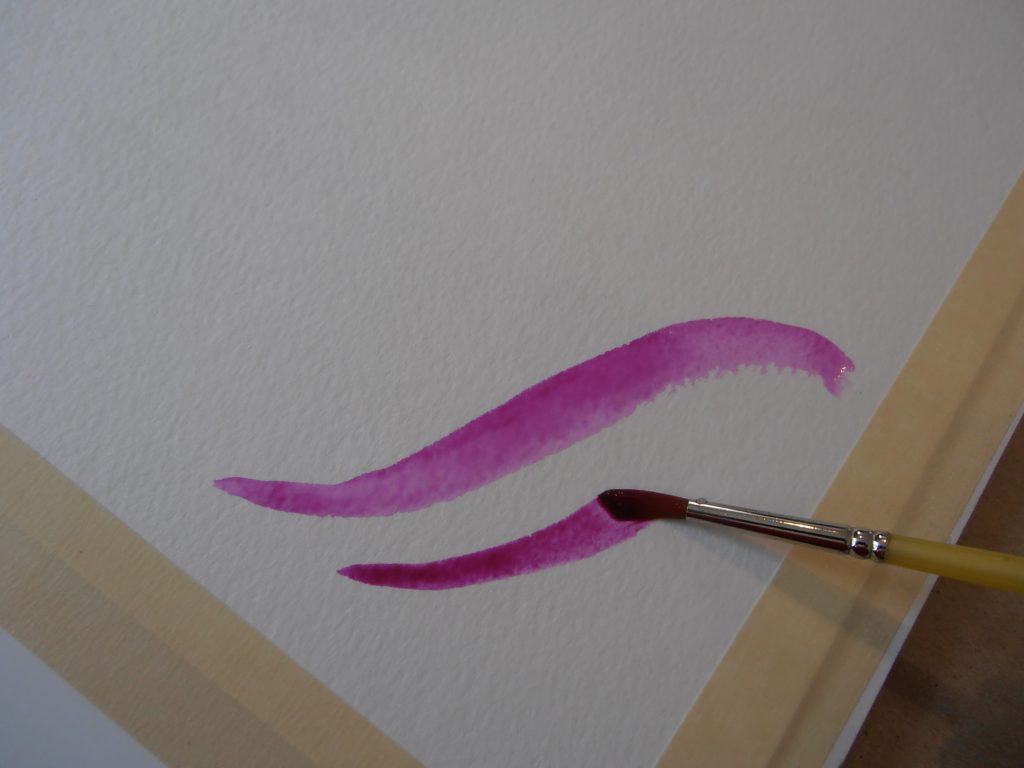
This medium can be combined with other mediums such as watercolor and colored pencil. You need to use a good quality, thick watercolor paper (140 pound minimum) as a surface.
Be sure to tape the paper down to a sturdy board or work surface to minimize buckling. Here, I’ve used a piece of foam core board.
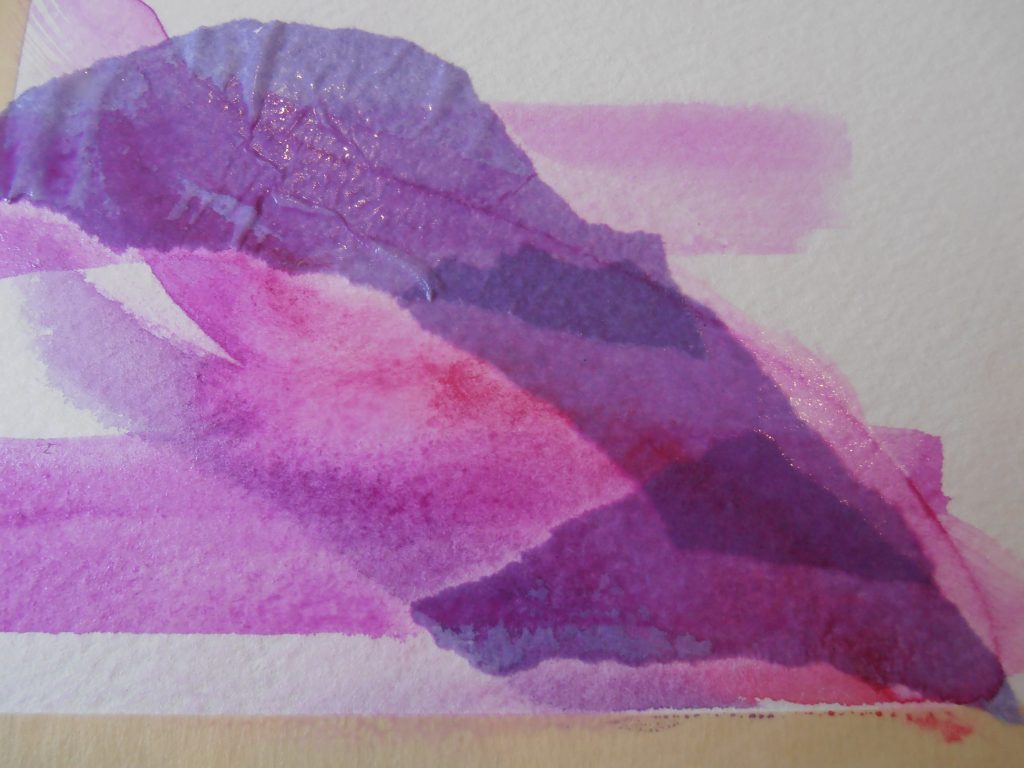
Watercolor and tissue paper can be layered to produce lovely colors.
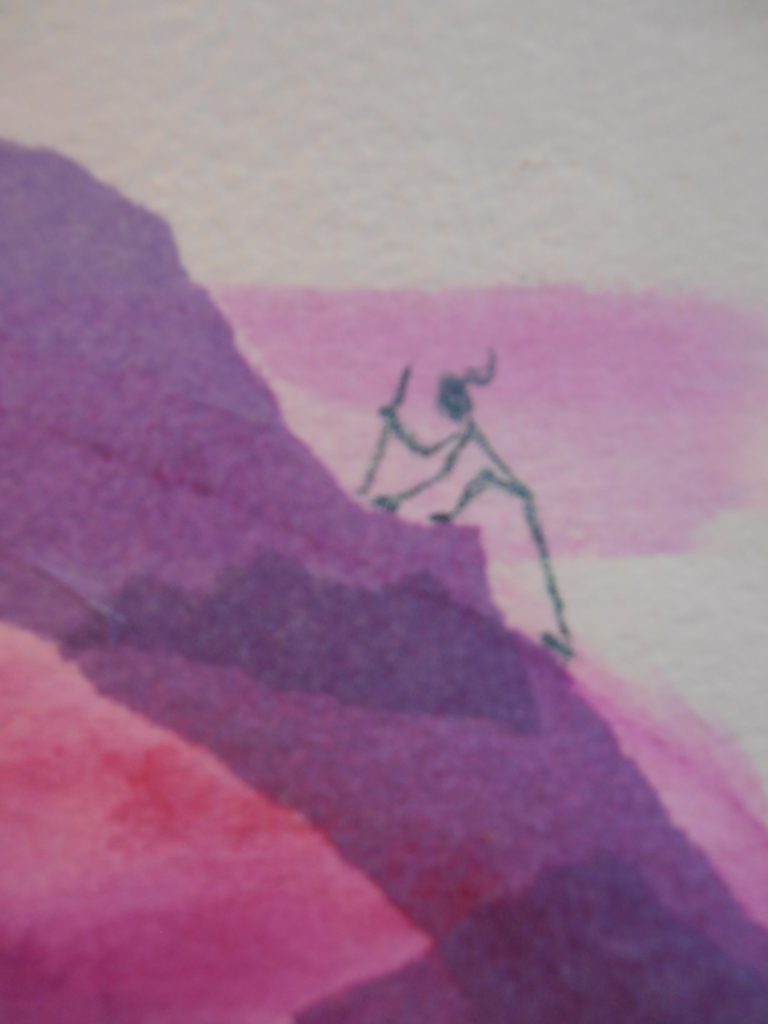
After everything is dry, you can incorporate pencil. Sometimes the abstract shapes inspire what the art turns out to be!

This piece was a green watercolor base, then tissue paper provides the other colors. Pencil and pastel were the final touches.
Creating Bookmarks With This Medium
Here’s a small project that I thought would be fun. I am always grabbing a scrap of paper to mark my place in whatever book I happen to be reading. Some handmade bookmarks would come in handy – plus they make a spiffy gift!
Tape a sheet of heavy watercolor paper to a sturdy board.
I used 140 lb cold pressed paper, which is available in sheets and pads, and used masking tape to attach it on all 4 sides to a sheet of foam core board. This helps to minimize the paper wrinkling or buckling from the wet paint and glue as you work.
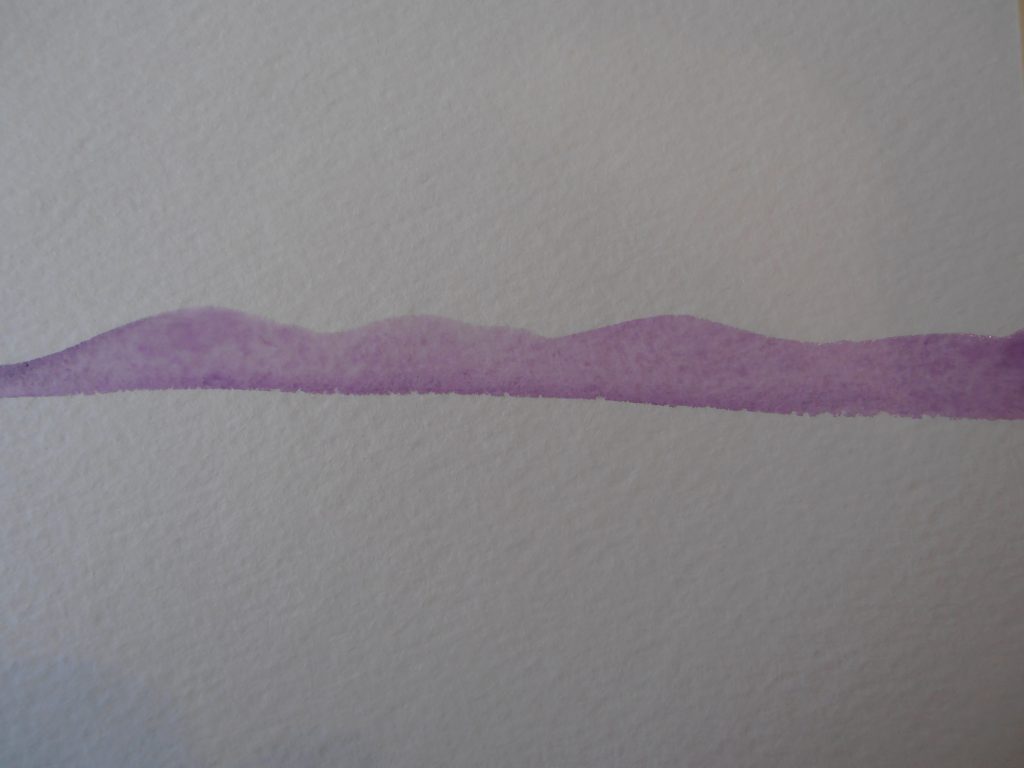
Watercolor was used for the purple background hills.
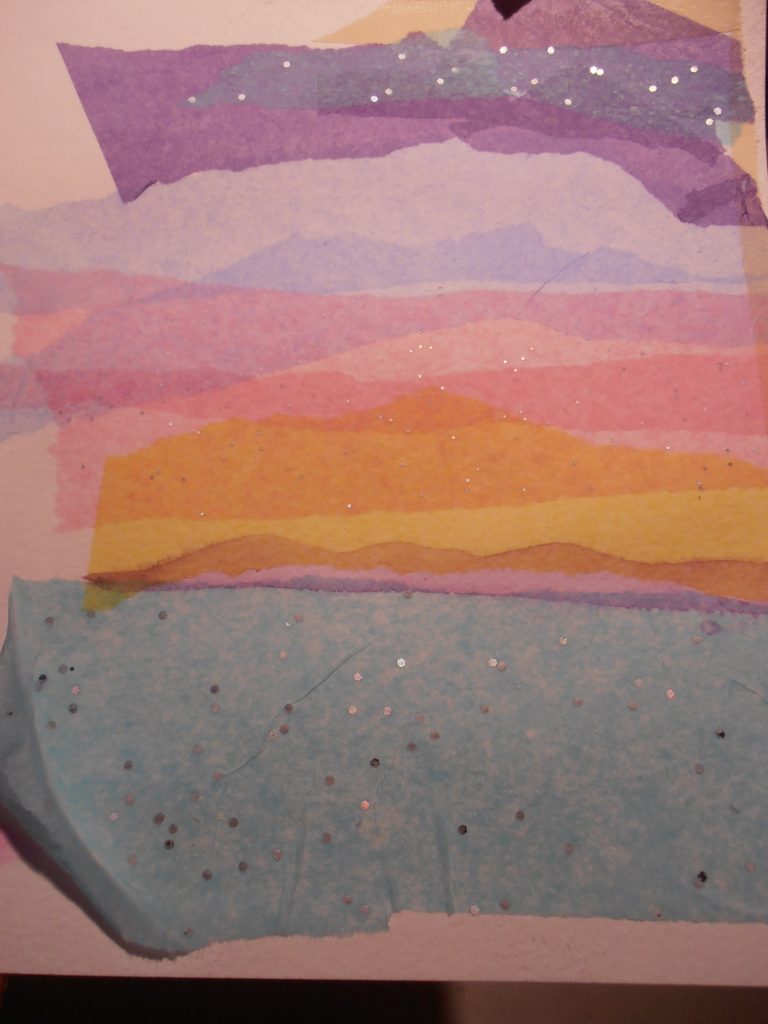
Paper was layered in sunset colors. I like the flecks of silver in the “water.”
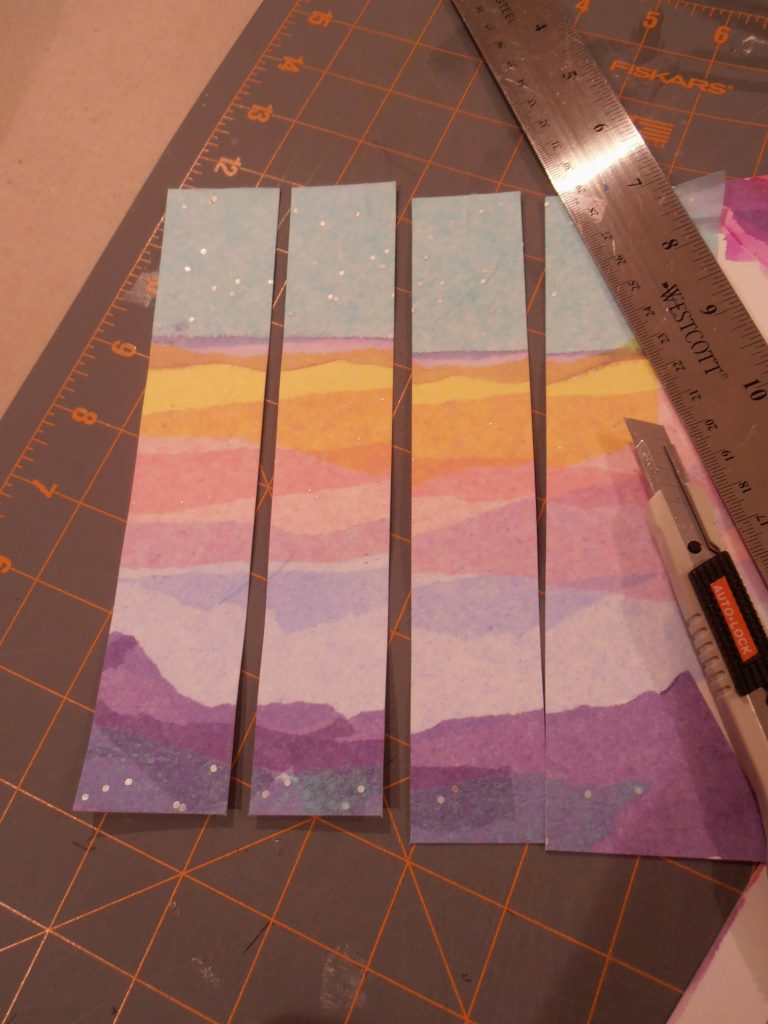
Once everything was dry, I cut the piece apart to form bookmarks.
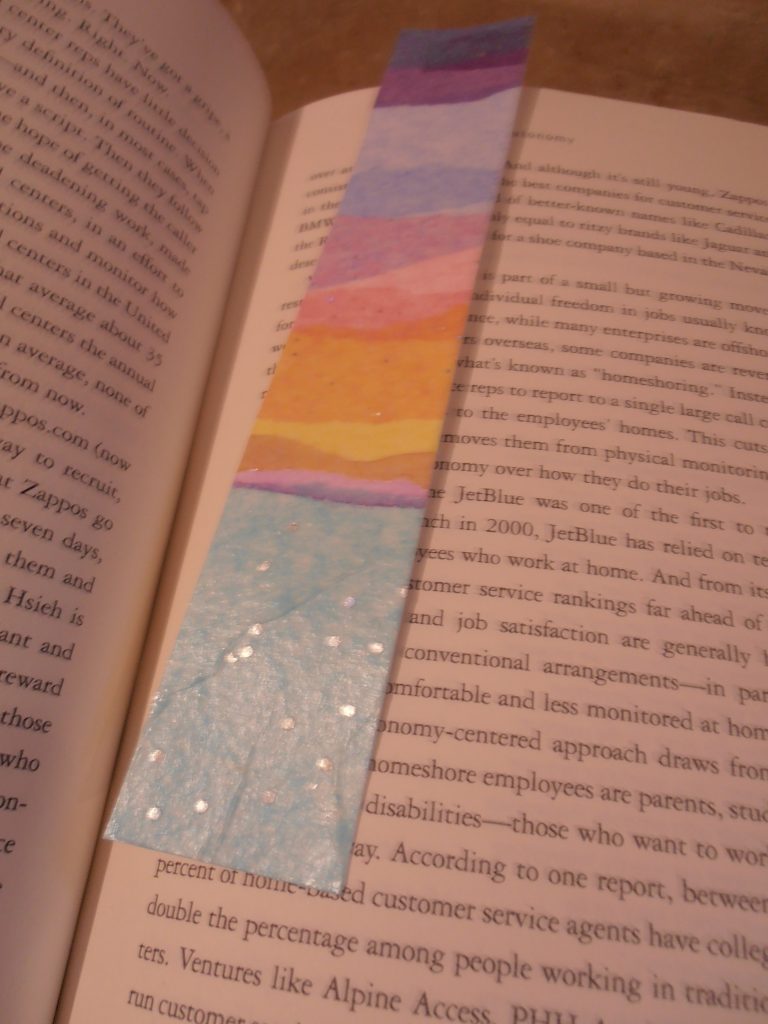
The work is fine as is, but I prefer to seal it. The sealer forms a water-resistant, clear coat on the piece. I use a product called Polycrylic, which is a water-based varnish. You can purchase this at a hardware or home supply store, and it comes in a couple of finishes. I prefer a satin finish. Semi-gloss is a bit shinier, and then gloss is really shiny.
There’s a link below to purchase online.
Affiliate Disclosure: My recommendations and shopping list may include affiliate links. That means I’ll earn a small commission if you take my recommendations and purchase online through my links. (Hey, that’s pretty cool!)
Recommended Supplies
Join Our Community!
Start in Art on Facebook is a place where we can share our art and encourage each other.
